
颜色识别
检测颜色值
import sensor, image, time

sensor.reset() # 初始化摄像头
sensor.set_pixformat(sensor.RGB565) # 格式为 RGB565.
sensor.set_framesize(sensor.QVGA)
sensor.skip_frames(10) # 跳过10帧,使新设置生效
sensor.set_auto_whitebal(False)               # Create a clock object to track the FPS.

ROI=(80,30,15,15)

while(True):
    img = sensor.snapshot()         # Take a picture and return the image.
    statistics=img.get_statistics(roi=ROI)
    color_l=statistics.l_mode()
    color_a=statistics.a_mode()
    color_b=statistics.b_mode()
    print(color_l,color_a,color_b)
    img.draw_rectangle(ROI)
ROI感兴趣的区域
感兴趣的区域及要识别的区域
- roi的格式是(x, y, w, h)的tupple.
- x:ROI区域中左上角的x坐标
- y:ROI区域中左上角的y坐标
- w:ROI的宽度
- h:ROI的高度
画图
颜色可以是灰度值(0-255),或者是彩色值(r, g, b)的tupple。默认是白色。
其中的color关键字必须显示的标明color=。例如:
image.draw_line((10,10,20,30), color=(255,0,0))
image.draw_rectangle(rect_tuple, color=(255,0,0))
画线
- image.draw_line(line_tuple, color=White) 在图像中画一条直线。
- line_tuple的格式是(x0, y0, x1, y1),意思是(x0, y0)到(x1, y1)的直线。
- 颜色可以是灰度值(0-255),或者是彩色值(r, g, b)的tupple。默认是白色
画框
- image.draw_rectangle(rect_tuple, color=White) 在图像中画一个矩形框。
- rect_tuple 的格式是 (x, y, w, h)。
画圆
- image.draw_circle(x, y, radius, color=White) 在图像中画一个圆。
- x,y是圆心坐标
- radius是圆的半径
画十字
- image.draw_cross(x, y, size=5, color=White) 在图像中画一个十字
- x,y是坐标
- size是两侧的尺寸
写字
- image.draw_string(x, y, text, color=White) 在图像中写字 8x10的像素
- x,y是坐标。使用\n, \r, and \r\n会使光标移动到下一行。
- text是要写的字符串。
显示一个数字:img.draw_string(b[0], b[1], "x:%d"%b[0])
       显示一个数字:img.draw_string(b[0], b[1], "x:%d"%b[0])
显示多个数值
print_args = (tag.x_translation(), tag.y_translation(), tag.z_translation(), \
            degrees(tag.x_rotation()), degrees(tag.y_rotation()), degrees(tag.z_rotation()))
        # 位置的单位是未知的,旋转的单位是角度
        print("Tx: %f, Ty %f, Tz %f, Rx %f, Ry %f, Rz %f" % print_args)
寻找色块
find_blobs函数
该函数返回色块的位置,返回的格式是的 (x, y, w, h)
find_blobs函数返回的blob对象包含了检测到的色块的以下属性:
- x - 色块的左上角x坐标
- y - 色块的左上角y坐标
- w - 色块的宽度
- h - 色块的高度
- pixels - 色块包含的总像素数
- cx() - 色块的中心x坐标
- cy() - 色块的中心y坐标
- rotation - 色块的旋转角度
- code - 色块的编码标签
- rect() - 以(x,y,w,h)形式返回色块的边界矩形
- x_hist() - 返回色块的x方向直方图
- y_hist() - 返回色块的y方向直方图
- area() - 返回色块的面积
- centroid() - 返回质心的(x,y)坐标
所以通过b.x、b.y等可以访问到色块的位置属性,b.w、b.h为大小属性,b.cx()、b.cy()为中心点坐标。
此外还有一些函数可以计算色块面积、生成直方图等。这些属性非常便利,可以直接用来获取色块信息并进行其他分析处理。
例如,可以用b.x、b.y绘制色块矩形,xn--b-s02c.cx()、b.cy()绘制中心十字线。这就是find_blobs() + blob对象的强大之处。 (已编辑
image.find_blobs(thresholds, roi=Auto, x_stride=2, y_stride=1, invert=False, area_threshold=10, pixels_threshold=10, merge=False, margin=0, threshold_cb=None, merge_cb=None)
thresholds
thresholds是颜色的阈值,注意:这个参数是一个列表,可以包含多个颜色。如果你只需要一个颜色,那么在这个列表中只需要有一个颜色值,如果你想要多个颜色阈值,那这个列表就需要多个颜色阈值。注意:在返回的色块对象blob可以调用code方法,来判断是什么颜色的色块。
red = (xxx,xxx,xxx,xxx,xxx,xxx)
blue = (xxx,xxx,xxx,xxx,xxx,xxx)
yellow = (xxx,xxx,xxx,xxx,xxx,xxx)

img=sensor.snapshot()
red_blobs = img.find_blobs([red])

color_blobs = img.find_blobs([red,blue, yellow])
roi
roi是“感兴趣区”
left_roi = [0,0,160,240]
blobs = img.find_blobs([red],roi=left_roi)
x_stride
就是查找的色块的x方向上最小宽度的像素,默认为2,如果你只想查找宽度10个像素以上的色块,那么就设置这个参数为10:
blobs = img.find_blobs([red],x_stride=10)y_stride
y_stride 就是查找的色块的y方向上最小宽度的像素,默认为1,如果你只想查找宽度5个像素以上的色块,那么就设置这个参数为5:
blobs = img.find_blobs([red],y_stride=5)invert
反转阈值,把阈值以外的颜色作为阈值进行查找
area_threshold
面积阈值,如果色块被框起来的面积小于这个值,会被过滤掉
pixels_threshold
像素个数阈值,如果色块像素数量小于这个值,会被过滤掉
merge
合并,如果设置为True,那么合并所有重叠的blob为一个。
注意:这会合并所有的blob,无论是什么颜色的。如果你想混淆多种颜色的blob,只需要分别调用不同颜色阈值的find_blobs。
all_blobs = img.find_blobs([red,blue,yellow],merge=True)

red_blobs = img.find_blobs([red],merge=True)
blue_blobs = img.find_blobs([blue],merge=True)
yellow_blobs = img.find_blobs([yellow],merge=True)
margin
边界,如果设置为1,那么两个blobs如果间距1一个像素点,也会被合并
常用操作
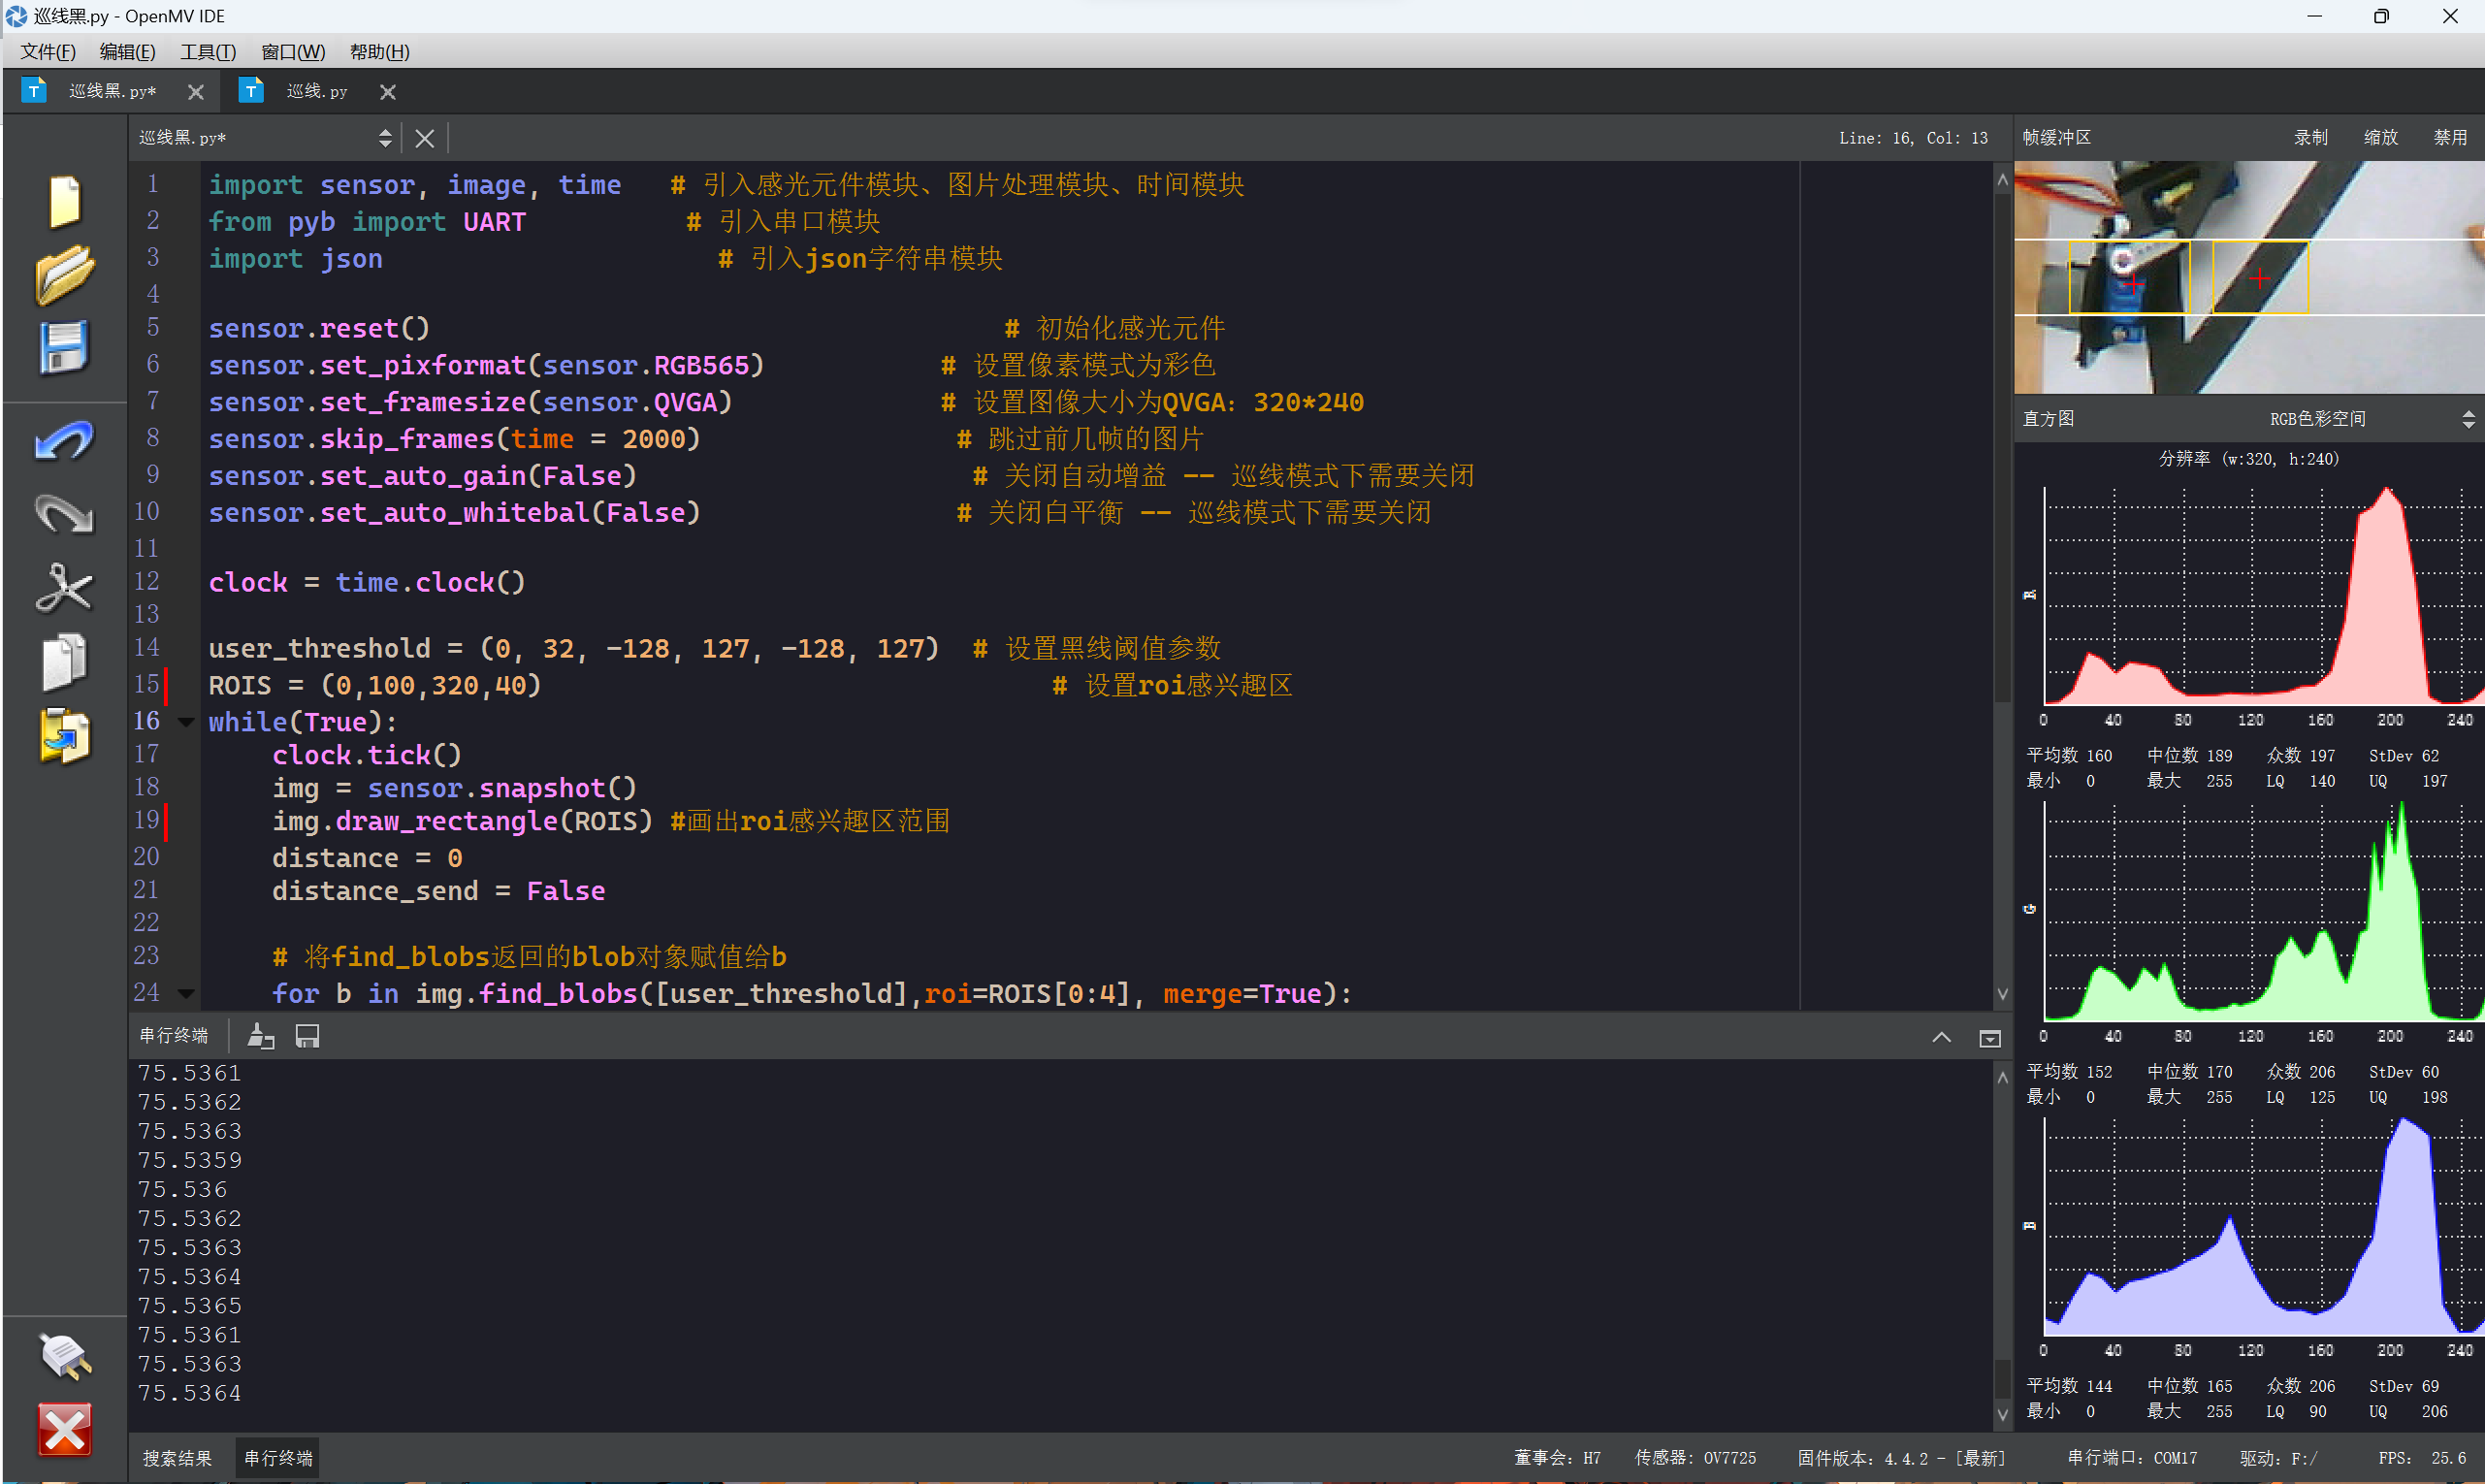
# 将find_blobs返回的blob对象赋值给b
    for b in img.find_blobs([user_threshold],roi=ROIS[0:4], merge=True):
        if (b[4] >= 30) and (b[3] >= 30):#判断色块高度,排除无用小色块
            img.draw_rectangle(b[0:4],color=(255,200,0))      # 画矩形
            img.draw_cross(b.cx(),b.cy(),color=(255,0,0))     # 画中心十字
            img.draw_string(b[0], b[1], "x:%d"%b[0],color = (0,255,0))
            if b[5]< 0 or b[5] > 320:
                distance = 0
                distance_send = False
            else:
                distance = b[5]

                distance_send = True
    # 判断正确获取到黑线位置
    print(clock.fps())
    print('x',b[0]);
阈值
一个颜色阈值的结构是这样的:
red = (minL, maxL, minA, maxA, minB, maxB)
Comments NOTHING